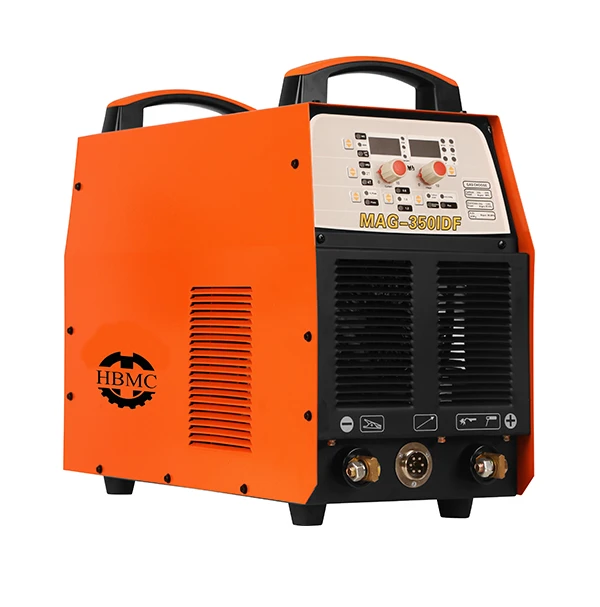
When a Welding Machine fails to produce an arc, the issue typically stems from problems with power supply, electrical connections, consumables (electrodes/wire), or key components like the electrode holder or ground clamp. Troubleshooting should follow a systematic, step-by-step approach—starting with simple checks (e.g., power and connections) before moving to more complex component inspections—to avoid unnecessary disassembly and ensure safety. Below is a detailed troubleshooting guide:
1. First: Ensure Safety & Basic Power Checks (Prevent Electrical Risks)
Before inspecting any parts, prioritize safety to avoid shocks or equipment damage:
Turn off the Welding Machine and disconnect it from the power source (unplug the cord or switch off the circuit breaker) to eliminate electrical hazards.
Wait for the machine to cool (if it was running before the issue) to prevent burns when handling components like the electrode holder or cables.
Check the power supply basics:
Verify the machine is plugged into a compatible, grounded outlet (match the machine’s voltage rating—e.g., 110V vs. 220V; never use a mismatched power source). If using an extension cord, ensure it’s a heavy-duty, welding-rated cord (6-gauge or thicker) with a grounded plug—thin extension cords cause voltage drops that prevent arc formation.
Check the circuit breaker or fuse for the outlet: if the breaker tripped or the fuse blew, reset/replace it, then test the machine again (but if it trips repeatedly, stop—this indicates a larger electrical issue, like a short circuit in the machine).
For industrial machines connected to a 3-phase power supply, confirm all three phases are active (use a multimeter to check voltage between each phase; uneven voltage will disrupt arc generation).
2. Inspect Electrical Connections: Loose or Damaged Cables Are a Common Culprit
Most arc failures stem from poor electrical conductivity due to loose, corroded, or damaged connections. Focus on these critical points:
Check if the clamp is securely attached to clean, bare metal: rust, paint, oil, or dirt on the workpiece or clamp surface act as insulators. Use a wire brush to clean the clamp’s jaws and the area where it attaches to the workpiece, then re-clamp firmly.
Inspect the ground cable for the same damage as the electrode cable (fraying, exposed wires) and replace if needed. Ensure the cable is not too long (excess length causes voltage loss) or stretched taut (this can loosen the clamp).
Internal Connections (Basic Check):
For accessible internal connections (e.g., terminal blocks where cables attach to the machine), remove the machine’s outer cover (only if you have electrical knowledge—otherwise, call a technician) and check for loose screws or corroded terminals. Tighten loose screws and clean corroded parts with a dry brush (never use water).
3. Check Consumables: Expired or Improperly Selected Materials Block Current
Consumables like electrodes, MIG wire, or TIG tungsten directly affect arc formation—using the wrong type or worn-out consumables is a frequent issue:
Stick Welding (SMAW):
Verify the electrode is compatible with the machine and workpiece: e.g., using a DC-only electrode (like E6010) on an AC-only machine will prevent arc striking. Check the electrode’s packaging for polarity (DC+/- or AC) and match it to the machine’s polarity setting.
Inspect the electrode for damage: if the flux coating is cracked, chipped, or damp (from improper storage), it will not conduct current properly. Dry damp electrodes in a rod oven (follow the manufacturer’s temperature guidelines—typically 250–500°F) before use; discard electrodes with severely damaged flux.
MIG Welding (GMAW):
Check the MIG wire for jams or misalignment in the feeder: if the wire is tangled on the spool, kinked in the cable, or stuck in the contact tip, it won’t feed to the gun, so no arc can form. Open the feeder cover, remove the spool, and straighten any kinks; replace the contact tip if it’s worn (a worn tip has a larger hole that lets the wire move freely without making contact).
Ensure the wire is compatible with the machine’s voltage and polarity: e.g., aluminum wire requires pure argon gas and DC reverse polarity (DCRP); using steel wire with the wrong polarity will cause arc instability or no arc.
TIG Welding (GTAW):
Inspect the tungsten electrode for contamination or damage: if the tungsten tip is melted, oxidized (black or gray coating), or contaminated with metal (from touching the workpiece), it won’t generate an arc. Grind the tip to a sharp point (follow the correct angle for your application—e.g., 20° for thin materials) and ensure it’s tightly secured in the torch collet (a loose collet causes poor current transfer).
Check the torch’s high-frequency (HF) starter (used to initiate the arc without touching tungsten to the workpiece): if the HF starter is faulty, the arc won’t strike. Test it by turning on the machine, pressing the torch trigger, and listening for a faint "hissing" sound (this indicates HF is active); if no sound, the HF module may need repair/replacement.
4. Verify Machine Settings: Incorrect Adjustments Prevent Arc Formation
Even if power and connections are intact, wrong settings can stop the arc. Adjust based on the welding process:
5. Advanced Checks: Component Failures (For Experienced Users or Technicians)
If the above steps don’t resolve the issue, the problem may be a faulty internal component. These checks require electrical knowledge (or a professional technician):
Power Supply Module: Use a multimeter to test if the machine is outputting the correct voltage/current. If no voltage is detected, the power module (transformer, inverter, or rectifier) may be defective and need replacement.
On/Off Switch or Trigger: For MIG/TIG, the gun trigger or machine’s on/off switch may be broken (e.g., a stuck trigger that doesn’t send a signal to start the arc). Test the trigger with a multimeter (check for continuity when pressed); replace if faulty.
Control Board: The machine’s circuit board (which regulates current, voltage, and wire feed) can fail due to overheating or electrical surges. Look for burnt components (blackened resistors or capacitors) on the board—if found, the board needs repair or replacement.
6. Final Tips: Avoid Common Mistakes
Don’t force the arc: Pressing the electrode/wire too hard against the workpiece won’t help—this only damages consumables or creates a short circuit.
Test with scrap metal: Always troubleshoot on scrap material (not the actual workpiece) to avoid ruining the project.
Call a technician if unsure: If you’re not comfortable inspecting internal components or using a multimeter, contact the machine’s manufacturer or a certified repair service—attempting to fix complex electrical issues can lead to injury or further equipment damage.
By following this systematic process, you can identify and resolve most arc-related issues—starting with simple, low-risk checks (power, connections, consumables) before moving to advanced component inspections. This approach ensures safety while efficiently troubleshooting the Welding Machine.